

Step-by-Step: Making a Paper Mâchè Project

* This post may contain affiliate links or sponsored content. *
Have you ever made paper mâchè? What designs have you made? We once made a piñata that the adults finally had to beat to open! I didn’t realize how sturdy this stuff gets. We have plans for a cut-away view of the earth later this school year.
Whatever you are studying, no matter what it is, you can make something paper mâchè to make. You will be shocked to realize it is all grown up and now being used in fine art and even home decor!
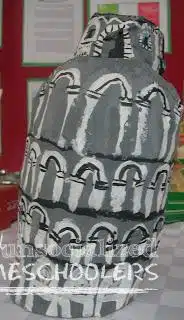
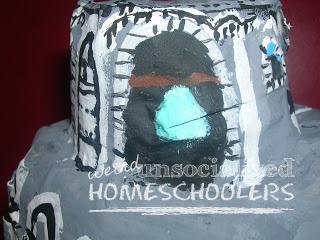
Our most recent project was the Leaning Tower of Pisa, which turned out pretty well except for the fact that the Coke people have decided to revamp their bottle shape in the form of an old style glass bottle. They’re cute, but they make for an oddly-shaped tower.
My cousin once made an awesome Liberty Bell. The possibilities with paper mâchè are limited only by your imagination. Here are some basic tips:
Supplies needed for making a paper mache project:
- base (such as: an inflated balloon, plastic tubes or bottles or even rolled up newspaper)
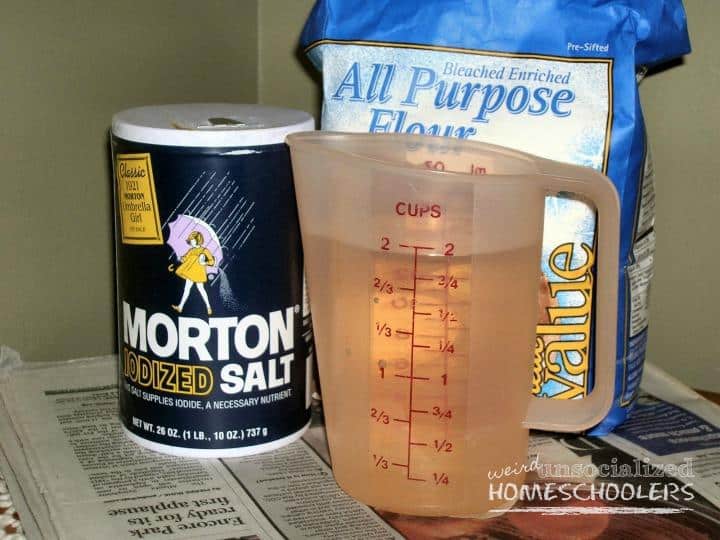
- flour
- water
- newspaper torn into strips
- paints for decorating (or, we used little strips of crepe paper for the piñata)
How to make a paper mache project
The recipe is simple: one part flour to two parts water, plus a tablespoon or so of salt to discourage molding. You want the mixture to have a thin, paste-like texture.
Step 1:
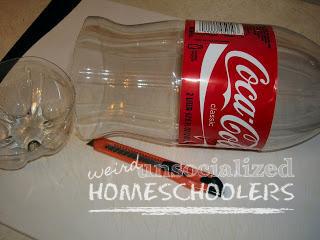
Select your base, trimming or shaping, as needed. For this project, we started with a Coke bottle and cut off the top and bottom, angling the bottom so our tower would lean.
Step 2:
Dip strips of newspaper, one at a time, into the flour mixture, running the strips between your thumb and forefinger to wipe off as much excess as possible.
Step 3:
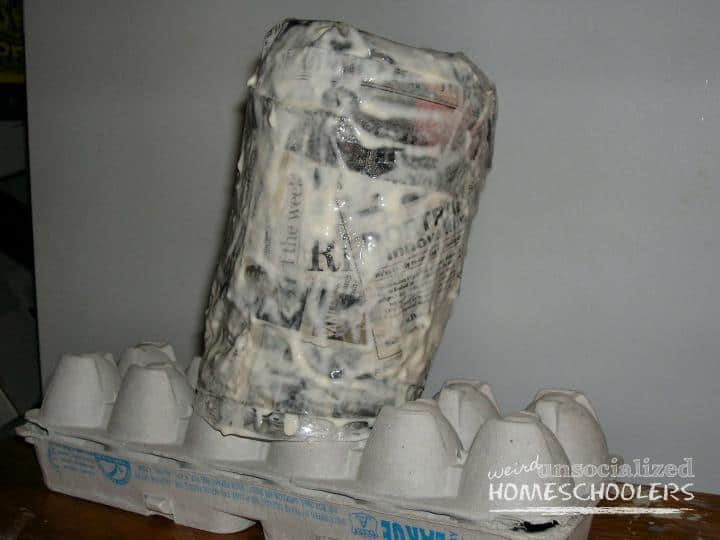
Arrange the strips around the base, smoothing them as much as possible. You don’t want to do more than one or two layers of newspaper at a time or your project is likely to mold.
Step 4:
Place on a safe surface, to which the project will not become adhered, and let dry for 24 hours or so.
Step 5:
Continue to repeat this process until your project has the desired shape and thickness.
Note: You can add different features to your project as the different layers dry. For example, we started with a Coke bottle for our project, then used a Styrofoam cup to add the top part of the tower.
Step 6:
Paint and or decorate your project, using the paint or other materials to add details to give it a realistic look.

I’m excited about the possibilities for our cut-away earth project, which we’ll do sometime after the first of the year.
What paper mâchè projects has your family done? What tips do you have to offer? Feel free to post the link to any posts or pictures that you have of your project.
This article was written by Kris Bales–the previous owner of Weird, Unsocialized Homeschoolers.
Kris Bales is a newly-retired homeschool mom and the quirky, Christ-following, painfully honest founder (and former owner) of Weird, Unsocialized Homeschoolers. She has a pretty serious addiction to sweet tea and Words with Friends. Kris and her husband of over 30 years are parents to three amazing homeschool grads. They share their home with three dogs, two cats, a ball python, a bearded dragon, and seven birds.
We’ve tried paper mache two different ways. The way you did it above and then we tried making our own paste. I found what I thought was a great recipe, online. We cut up tons of newspapers and let it soak overnight.
Yuck. It did not work for us.
I prefer the flour method. We’ve made the planet Earth, along with a spaceship and a cup.
Your right, there’s a lot you can do with paper mache!
Thanks for sharing.. I can’t wait to see the planet Earth. I loved Jennifer’s. 😉
Nekey, I’m excited about doing the earth one. I know exactly how I want to do it…I just have to wait until we get to that point in our science lessons. lol
Jennifer, have you posted pictures of your projects anywhere?
Kris, that’s a great project. I’m still experimenting with gluten free papier mache. I’m trying to decide if it’s safe for my kids to use gluten containing craft materials.
Thanks, Shez. I’m glad you commented…among other things, it reminds me that I meant to submit this post to your carnival and I don’t think I’ve done that yet. 😉
The other thing is, I bet you could do this with really watered down glue. I haven’t tried it, so I don’t know for sure, but it might be worth experimenting on a small project.
Has anyone else tried a paste method that doesn’t involve flour?
Great project! We usually get mould on our projects – never thought to add salt! Thanks.